Good technical writing can often seem like magic. It’s not.
Over the last seven years, tons of “best practices” have bubbled up from the Gatsby community to user-facing engineers, product managers, customer success and support teams. We’ve built a culture of documentation so that tribal knowledge isn’t gated by the content team’s bandwidth.
One type of content can be a bit trickier: case studies. Case studies showcase the success of Gatsby users, and let community members see how a “best practice” might work in a real-world scenario. But sometimes non-marketers aren’t sure how to do this, or where to start.
Over the last five years, we’ve written about fifty case studies, and developed a technique to write and publish a case study in three to four hours. I wrote this blog post to share that technique. If you’re interested in telling user or customer stories, you’ll be interested to read this.
Let’s dive in.
Setting Up The Interview
Once someone’s agreed to let you write a case study, there are three guidelines that make for a successful interview. Engineers and product managers may recognize these, because they’re similar to what makes for good open-ended user interviews.
Make sure your interviewees are familiar with both the business and technical site of things. Sometimes a tech lead will be able to do both. Other times, you will need to make sure both an engineering manager and a marketing director, say, are in the room.
Schedule 45-60 minutes, and record the call, and use an auto-transcribing service. If you have less time, you are unlikely to capture the full story. After the initial chit-chat, I ask if I can record the conversation, and then turn it on. For auto-transcription, we use Rewatch internally which offers this functionality.
Establish yourself as an interested listener. In this conversation, you are a curious listener — not a subject matter authority. Pair your status to their status — and go lower if possible! (This can be very difficult for some people.) If you present as an authority figure, your interviewees may focus on whether they did something “right”, they are unlikely to open up, and you’ll struggle to piece the story together.
Conducting The Interview
The interview is the place where you are going to be able to get the highest-bandwidth information. You need to see the story you’re writing as an onion to unpeel. A great interview is a conversation staged as a sequence of “angles” to explain a complex event.
Angles of attack
-
Highlight & Lowlights. This a great lead-in to the interview and a natural place to start. You’ll ask questions that trigger people’s emotional memory — the types of things that they might relay to coworkers.
- Goal: Build rapport while starting to get the story.
- Types of questions: “Freeform” questions that you might ask in a user interview.
- Question examples: “What went well?” “What didn’t go well?” “What was surprising?” “Were there any big bumps in the road?”
-
Project Chronology. Once you’ve gotten the emotional overview of the project, it’s to plumb people’s factual memory. At its core, a case study is a story.
- Goal: get a project timeline skeleton that you can relay to your readers — hopefully with some meat on the bones.
- Types of questions: Focus on what happened, when, and why — and what events caused other events. If your subjects have to pause a couple of times to recall some detail that’s floating around in long-term memory, it’s not a bad thing.
- Question examples: “So how did you hear about Gatsby?” “So what happened then?” “How did the project start?” “How did you decide to use Gatsby for this project?” “What was the client’s feedback?” “How long did the project take?” “What were the different stages?” “How did the launch go?” “How did the client react?” “What were the business metrics?”
-
Detail Spotlight. Interspersed with project chronology and highlights / lowlights you can point out parts of their website that they liked, as an invitation for them to tell you more.
- Before the call: Take a look at what they’ve built, and note 2-3 things they did a great job on, especially if it clearly took a lot of time and effort.
- Goal: Get the backstory behind particularly interesting parts of the website, so you can relay them to the reader.
- Question example: “I thought the way you did [X thing] was really interesting.” (followed by a pause)
-
Big Picture. As the interview starts drawing to a close, you’ll want to return to the most important pieces of information you collected earlier and get the “so what”. You’ll use these details to write the first couple sentences of your case study (the lede) and the headline.
- Goal: understand why this project was significant — to the agency, to the client, to the team, perhaps to the world.
- Types of questions: Return to the most “important” pieces of information you collected earlier and get the “so what.”
- Question examples: For Little Caesars the “story” was a Super Bowl ad traffic without team stress, so we asked about how the team felt. For Jaxxon it was an e-commerce site launch that doubled conversions, so we asked about the business impact.
Important Interview Techniques
Stay present, stay curious. You can’t ask these questions perfunctionarily. People notice. You have to be listening very closely. You have to care.
Capture a multi-disciplinary perspective. At the very least, you should be getting both the developer experience and the business results — for each angle of attack! Websites are incredibly cross-functional projects, so there may be another perspective you want to capture as well (design, content architecture, e-commerce, illustration, animation, performance optimization, copywriting…)
Ask good questions, then shut up and listen. You can see this in podcasts recorded by great narrative interviewers like Guy Raz (How I Built This) or Jeff Meyerson (RIP) at Software Engineering Daily.
Dive into interesting details (but remember where you were). When people mention things that are surprising or interesting, don’t wait for them to stop talking — express interest or curiosity, right then, in a way that feels authentic to you. Then, you need to balance two things:
- figure out how to dive deeper right there and then (otherwise the moment will pass)
- remember where you were, so you can bring the conversation back there afterwards (otherwise the conversation will feel fragmented)

Writing Up The Case Study
Block 2 Hours Of Writing Time After The Interview
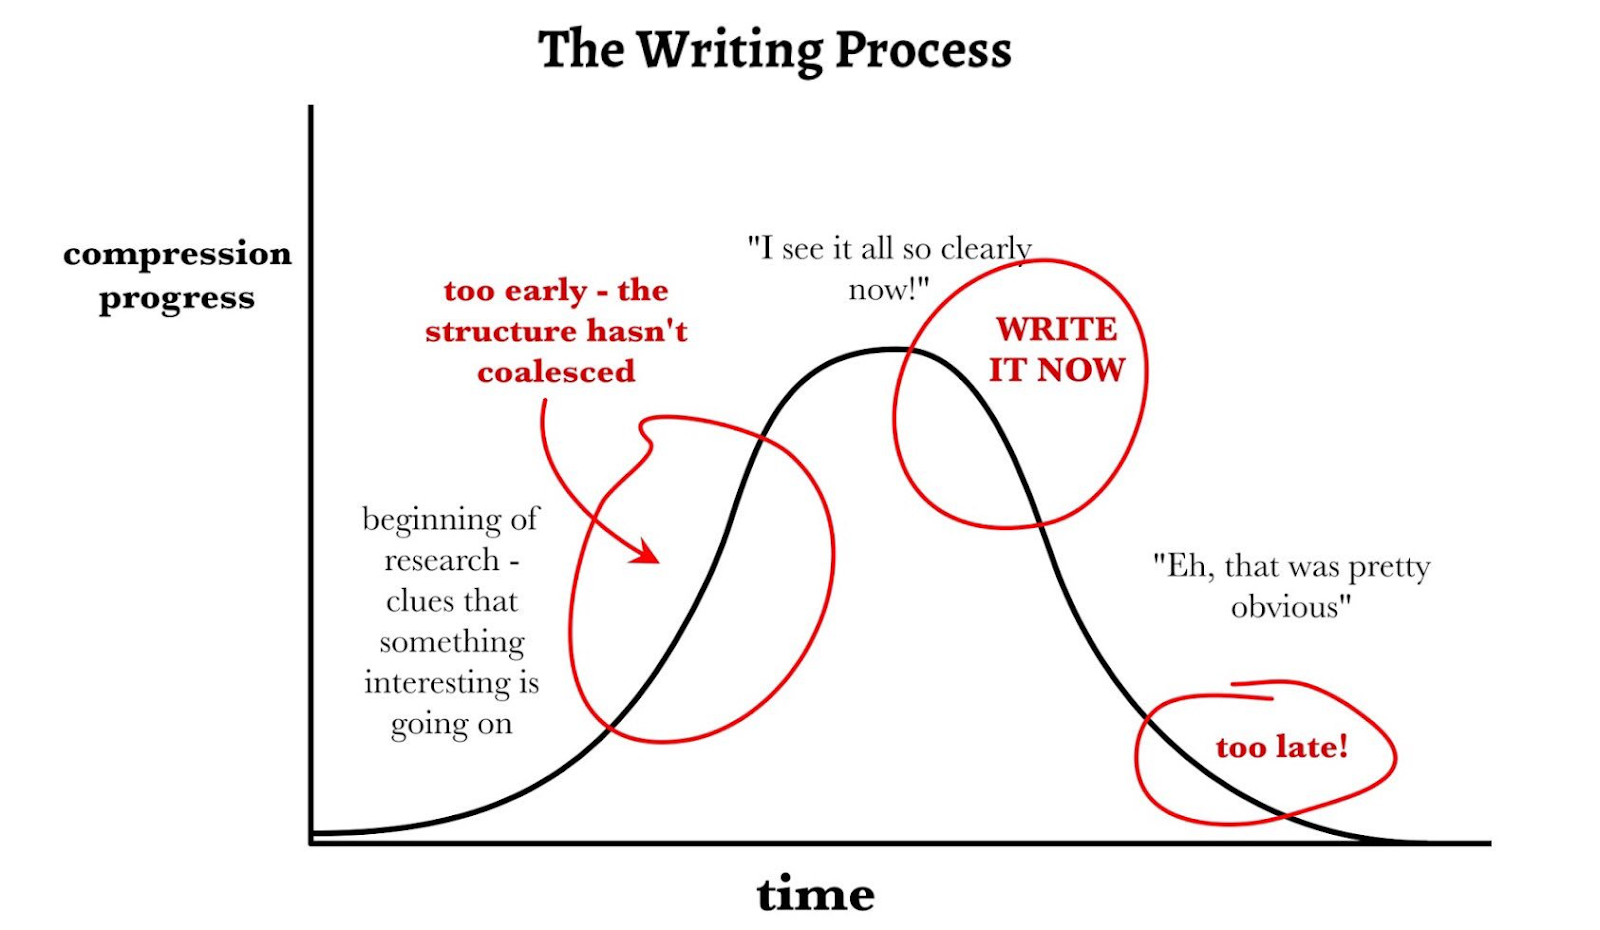
One evening in college doing a journalism internship, I went to a community event remembering a local high school senior who tragically passed away. I got back to the office around 7:30pm, and needed to have a story on my editor’s desk by 9, so I furiously pounded out 500 print-ready words in an hour and a half — in the process apparently oblivious to a colleague who wandered over to ask me something. Like coding, writing rewards blocks of uninterrupted time.
This process works the same way for case studies. Immediately after conducting an interview, you will have an emotional memory of the conversation, along with a sense of the 2-3 most important parts. If you wait, that memory will fade.
Block time immediately after the interview (mornings are best) — so if you had a 9-10am interview, block 10am to noon.
(credit to Sarah Perry)
Step 1: Braindump
The first thing you need to do is brain dump.
Throw your video into whatever tool you’re using to auto-transcribe. Flesh out the notes you were taking during the interview with all the details that come to mind as important but you didn’t capture. Copy and paste all of the notes from your note taking software into a Google Doc.
When your video finishes auto-transcribing (hopefully within 10-15 minutes), search through the transcribed interview to copy paste a bunch of passages in from the interview, to supplement the notes
Step 2: Organize
The technique you need to write quickly is middle-out composition (thanks, Silicon Valley).
Don’t start by writing your lede, or your conclusion. Just group your text together by similarity and then write some headers on top of the information groups that seem important or interesting. These might be important business results, parts of the DX that the developers loved, or the project timeline skeleton. Find the 3 or 4 important takeaways, and write draft subheads (H2).
The skill you’re using here is the ability to create an information hierarchy.
Step 3: Move to notes, re-add, copy, paste, condense
At this point you’ll have some very roughly organized information with subheads, along with a lot of clutter that is out of place. Put a “Notes” section, perhaps topped by a horizontal line, at the bottom of your document, and start moving all the information that feels less-important or out of place into the Notes section. Your document will now feel right but incomplete. Start supplementing the important points — with quotes from your interview, screenshots from a website, photos of people, and so on.
Try to avoid writing. Instead, copy and paste from notes and transcript. Then condense three or four sentences a subject said into a one-sentence summary. Rinse and repeat.
Step 4: Add the lede and conclusion
Once you’ve got the skeleton mostly done, you can add a draft lede and conclusion. That’s where you pull in the information you have about the big-picture so-what. Hopefully, that information is in your notes.
Step 5: Edit until it shines
Now, you’ve got the whole case study. You also probably have run-on sentences, jumbled together, poorly organized sections, a mediocre lede, and so on. That’s okay.
There’s a simple algorithm here: run through the whole story, section by section. Polish whatever’s obvious. Then, return to the start, and do it again.
This avoids the most frequent time sucks of the editing process — perfectionism and overthinking. If you know something’s wrong but don’t know how to fix it, don’t worry. You’ll get it on the next run-through.
Focus on condensing complex ideas. Break long sentences up. Get rid of extraneous details. “Omit needless words.”
If you’re a newer writer, this is a great time to pair with a more experienced writer. Tell them they are the editor and ask them to rewrite confusing sentences or sections. Make it clear that they are driving.
Step 6: Spend a few minutes on the lede and title
People will read the title and first sentence more than anything else, so spend some extra effort. Consider a couple different approaches. Figure out what’s most catchy.
Step 7: Publish, then seek comments
In an ideal world, this is where you throw it into WordPress and hit publish. You should do this unless you have a very good reason not to! Doing otherwise risks getting stuck in endless review traps waiting for third-party approvals.
Instead, publish it first — and then send it to third-parties to ask if there are any details that need fixing before you publicize it.
Step 8: Go get some lunch
If you’ve done all the previous steps in three to four hours, your brain is probably pretty tired. Be kind to yourself. Go somewhere you really like and think about non-work related stuff for a while.
Conclusion
Writing great case studies isn’t magic. It’s a skill just like any other. And if you’re in a user- or customer-facing role, you’d do well to learn it. Sharing success stories internally is great, but sharing them externally will multiply your impact.